-
Regular price 125 ml RM178.00Regular price- %125 ml RM178.00
-
Regular price 15 ml RM290.00Regular price- %15 ml RM290.00
-
Regular price 30 ml RM530.00Regular price- %30 ml RM530.00
-
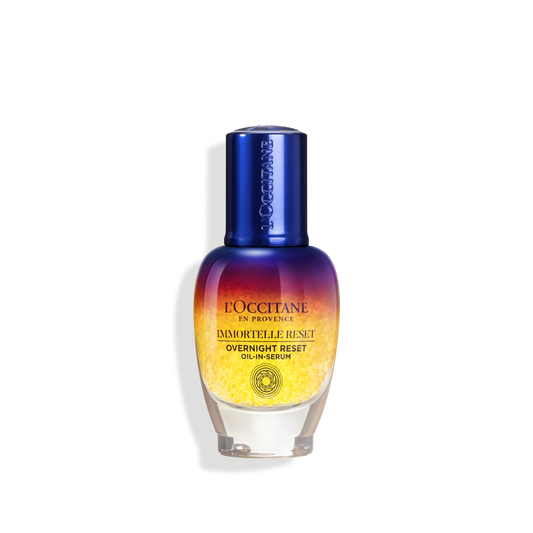
Regular price 50 ml RM580.00Regular price- %50 ml RM580.00
-
Regular price 30 ml RM310.00Regular price- %30 ml RM310.00
-
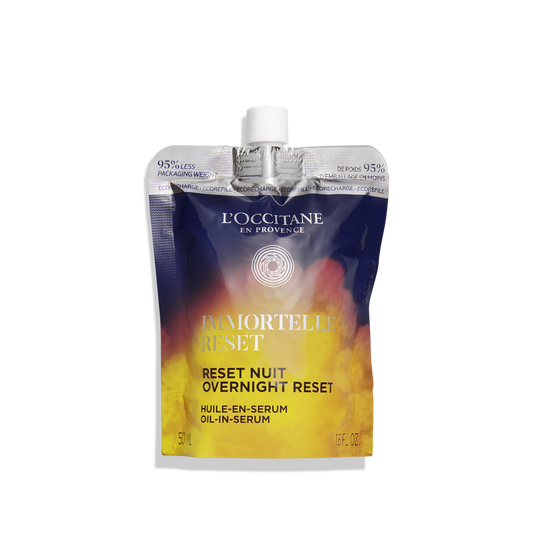
Regular price Refill 50 ml RM390.00Regular price- %Refill 50 ml RM390.00
-
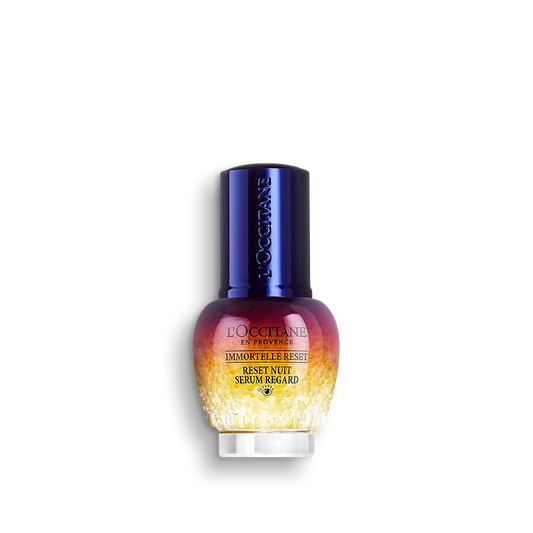
Regular price 15 ml RM290.00Regular price- %15 ml RM290.00
-
Regular price 50 ml RM330.00Regular price- %50 ml RM330.00
-
Regular price 50 ml RM460.00Regular price- %50 ml RM460.00
-
Regular price 150 ml RM340.00Regular price- %150 ml RM340.00
-
Regular price 200 ml RM160.00Regular price- %200 ml RM160.00
-
Regular price 15 ml RM330.00Regular price- %15 ml RM330.00
RM0.00 -
Regular price 30 ml RM350.00Regular price- %30 ml RM350.00
-
 Out of stockRegular price 10 ml RM52.00Regular price- %RM52.00
 -
Regular price 200 ml RM270.00Regular price- %200 ml RM270.00
-
Regular price 200 ml RM160.00Regular price- %200 ml RM160.00